
Thinking Outside the Box, Part 3: Stripping the Channel
Recreating traditional analogue paths is easy in-the-box, you’ll be surprised at what you can do.
Tutorial: Dax Liniere
Let’s take a moment to think outside the box about the big-budget productions we’ve grown up loving. Historically, most have been recorded through an analogue console to multitrack tape, then mixed down through an analogue console to two-track tape. The choices of console and tape type are often different for each role. One of the accepted classic combinations is tracking through an old Neve (for the harmonics generated by their transformer-based designs), recording to two-inch Ampex/Quantegy 456 or 499 tape stock then mixing on an SSL (for midrange focus) to ½-inch tape.
Signals travel from the console input preamps, through EQ, plus any outboard equipment used, to tape. This process is repeated during the analogue mix process — with the addition that it’s summed at the console master bus — for a double dose of analogue saturation. But by comparison, a ‘digital-centric’ production is likely to miss several of these key opportunities to impart saturation and colouration.
These days, you can recreate this path with plug-ins for a fraction of the cost of even a single piece of hardware. Especially when you compare the purchase and maintenance costs of a console, tape machine and tape stock to inserting multiple instances of a plug-in you paid for just once. This affordability means you can own more than one virtual console or virtual tape machine, and it’s a great way to bring variety to your colour palette.
CONSOLE EMULATION
First, let’s set about recreating the analogue signal path. You have two options: As discussed in the last issue, you can get the majority of your colouration via master bus processing, or you can use saturators on every channel. The second approach is more faithful to mixing Outside-The-Box (which is not to say it is more effective) and there are several plug-ins which will lend colour to your mixes.
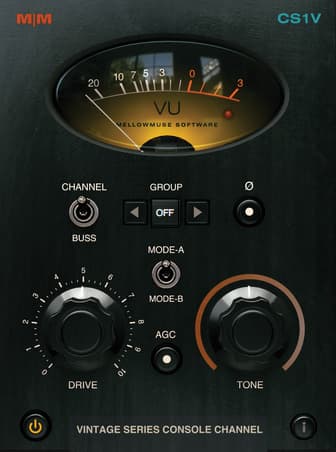
Mellowmuse CS1V (US$79) VST/AU/RTAS
CS1V has two modes: A and B. The former is a vintage mode and the latter is a more open, modern mode. I found that the vintage mode was too closed for my liking, though I could definitely see it working well on more mellow genres like folk or even soul and rock ‘n’ roll. The modern B mode adds quite a bit of top-end sparkle which, if used judiciously, is a lovely touch. I also found CS1V to be one of the more dynamic sounding options.
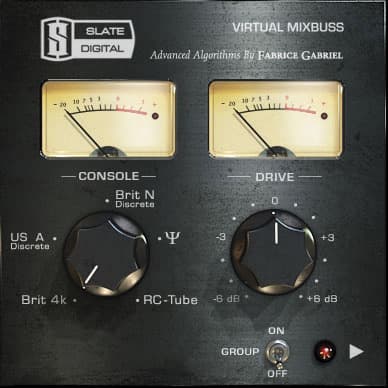
Slate Digital Virtual Console Collection
(US$199) VST/AU/RTAS
www.slatedigital.com/products/vcc
With their bus and channel plug-in set VCC, Slate Digital ambitiously sets out to capture the essence of five classic consoles. The Trident mode adds a nice widening effect to the low-mids, making it well suited to double-tracked rhythm guitars. The Brit4K mode (SSL) is one of the most open-sounding in the collection, but also imparts the least colour. While VCC’s US A mode (API) is tonally my favourite, its dynamics sound restricted compared to the other modes.
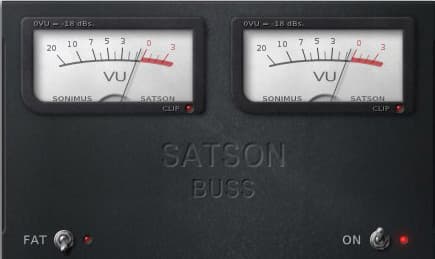
Sonimus Satson (US$39) VST/AU/RTAS
www.sonimus.com/products/satson
Satson is a very subtle creature. It adds a slight thickness and widens the upper-mids. This plug-in also features handy high- and low-pass filters, plus a FAT mode to increase the drive.
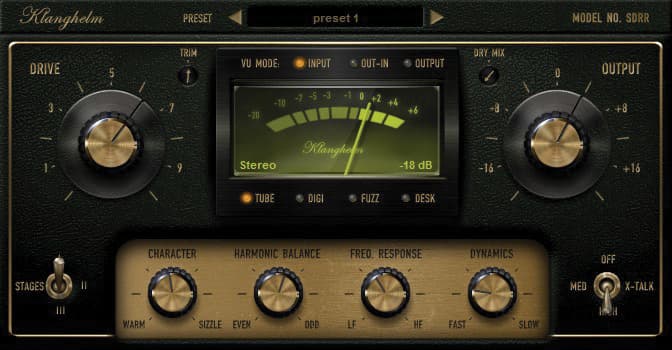
Klanghelm SDRR (€22) VST/AU/RTAS
SDRR was mentioned last issue as an excellent master bus saturator, and while it’s not specifically touted as a console emulator, the four modes (including Desk and Tube) make it equally well suited to channel applications.
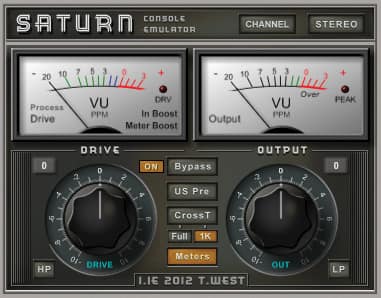
Terry West Saturn (Free) VST
Not to be confused with FabFilter’s flexible saturator of the same name, this plug-in packs a serious punch, adding quite a bit of liveliness and upper-mid character to a mix. The ‘US Pre’ mode adds a bit more ‘oomph’ and some brightness around 6kHz. Remarkably, this plug-in just happens to be free, but don’t let that scare you off, it sounds ‘like a bought one.’
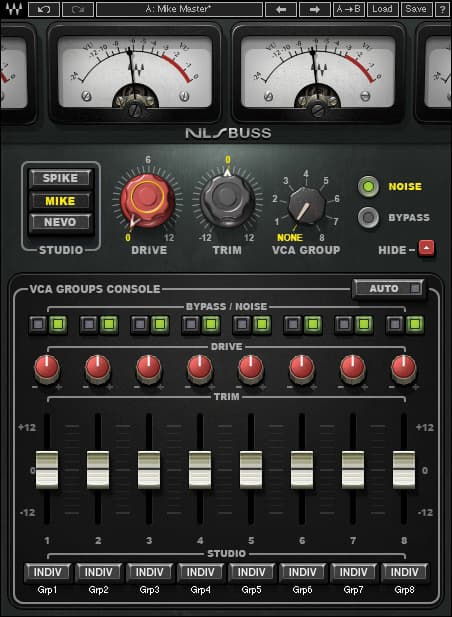
Waves NLS ($249) VST/AU/RTAS/AAX
www.waves.com/plugins/nls-non-linear-summer
Waves’ contribution to the market offers three consoles, each boasting 32 independently modelled channels. The mode modelled on Yoad Nevo’s Neve 5116 adds energy around 800Hz, whereas Mike Hedges’ EMI TG12345 Mk IV adds energy slightly above 1kHz. Both contribute a nice character to the mix that suits electric guitars and drums. They have a lot of similarities, but are different enough that you’d want to choose the flavour that best suits the song. Mike’s console also adds quite a bit of heft below 50Hz as it saturates on low frequency transients, a trait I would have expected more from the Neve. I found the emulation of Spike’s SSL 4000G was too easy to overload and, for me, didn’t suit a lot of sources. All in all, Waves’ NLS seems to be one of the more dynamic emulations in the pack.
THE SPICE OF LIFE
Console emulation is not the only reason you should consider using saturation on channels. Sometimes our source material is cosmetically lacklustre and needs a dab of makeup, or perhaps we want to go the other direction and ugly it up a little.
For harsh or strident sounds — this could be cymbals, distorted guitars, vocals, brass, strings; almost anything, really — instead of reaching for an EQ to cut top-end, try a ‘warming’ saturator to round out the sound. A source that’s lacking bass or low-mids? Try a ‘fattening’ saturator like u-he Satin or FabFilter Saturn (the Warm Tape mode is a great place to start). Sometimes you’ll get a sound that’s too dull, so give it a bit of excitement with a saturator that generates strong upper harmonics. Maybe you have a loop or sample that’s boring and lifeless, if so, you could give it a bit of crunch. There are lots of saturators that can be used as a special effect. Try them on a small part you would usually tuck away in your mix. Like a sprinkle of chilli, it might just be the spice your mix needs. Plug-ins such as Voxengo’s Tube Amp, Togu Audio Line’s TAL-Tube and Camel Audio’s CamelCrusher are all very effective and also free.
To me, the best thing about ITB mixing is not the cost, but the flexibility. You may have already realised that different console emulation plug-ins could be used in different places in your mix. In the box, you are free from the restrictions that working in the analogue domain imposes. You’re free to use the forward midrange sound of an API for your drums, the fatness of a Neve for your bass and the wide low-mids of a Trident for your guitars. Even the use of different tape types and speeds can be decided on a per-track basis. You cannot practically do this when mixing in the analogue domain.
Better still, you can choose to have no colouration at all on a sensitive source like vocals. This, ladies and gentlemen, is the single best thing about mixing In-The-Box: wherever you don’t want colouration, you don’t need to have it. While we can simulate the non-linearities of the analogue world in digital, analogue cannot pass a signal from one end of the chain to the other without imparting colouration and distortion. In short, In-The-Box can deliver the Outside-The-Box sound, but OTB cannot deliver the ITB sound.
MORE WIDTH
In Issue 96, I wrote about width in analogue mixes and how crosstalk affects the stereo image. There are many things at play inside any analogue circuit that may affect the perception of width, making it either wider or narrower. An analogue console contains thousands of electronic components: resistors, capacitors, inductors, transistors and integrated circuits. Although each of these has a specified value within the circuit design, the actual value may vary within a few percent, this is called the component’s tolerance. These minute differences between components accumulate throughout the signal path, resulting in subtle differences in frequency response, noise (amount and spectrum), dynamics and saturation. It’s been suggested that the noise present at a console’s output is perceived by the brain as an increase in reverb and because this noise is left-right uncorrelated (i.e., different on both sides) the ‘additional reverb’ appears wide. All of these left-right differences can contribute to the perception of subtle widening.
The important thing to remember is that this widening is uncontrolled. Your stereo field (including your centre image) will always be slightly spread by an amount that varies with temperature and age. In the box, you can choose to apply plug-ins that simulate this behaviour only on the channels you want to affect.
EQUALISERS
We’ve looked at the console input stage, its output bus and the tape it records to, but sitting in between all that is the humble equaliser, another great source of colouration. Every EQ circuit design has different properties that reflect the philosophies of its designer. Some are clean, some add character, some are surgical, and some ‘musical’. Whether Pultec, Neve, API, Helios or Trident, supplementing console EQs with outboard is a long-standing practice which can avail a broad palette of sound-shaping tools. New toys are fun, but learning the tools you have, especially your ears, is most important. The best advice I could give any engineer about equalisation is to practice ear training. The faster and more easily you can identify frequencies, the more efficient and better your work will become. This is especially true for live sound, where reaction time can be the difference between smiling and frowning musicians. It will also help you to identify how other mixes are constructed and how sounds are placed, which is a great way to learn and improve your own mixing.
There are many ear-training apps available based around one-third-octave bands. Quiztones is one that’s available for iOS and Android and costs less than a beer.
Now what are you going to do with these newly learned skills? Put them to good use with these great EQ plug-ins!
In short, In-The-Box can deliver the Outside-The-Box sound, but OTB cannot deliver the ITB sound
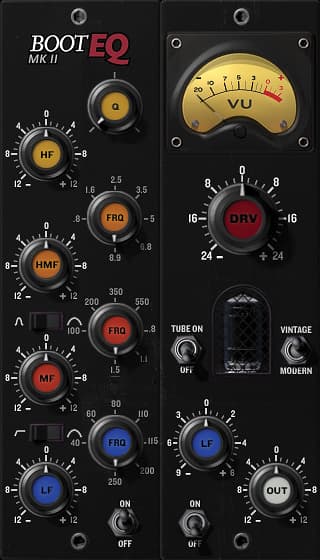
Variety Of Sound BootEQ MkII (Free) Win VST
This is a very musical-sounding implementation of a digital EQ with analogue-shaped curves, presented in a Lunchbox-inspired GUI. BootEQ also features a preamp simulator with variable drive and additional tube simulation to introduce pleasant second-order harmonics.
Variety Of Sound Thrillseeker XTC (Free) Win VST
Winner of KVR’s 2012 Developer Challenge, this EQ is a bit different from the norm. It features a three-band parallel-topology EQ that can impart quite a lot of character. Saturation is not added pre or post EQ, it’s actually part of it, with each band featuring Bootsy’s Stateful Saturation algorithms.

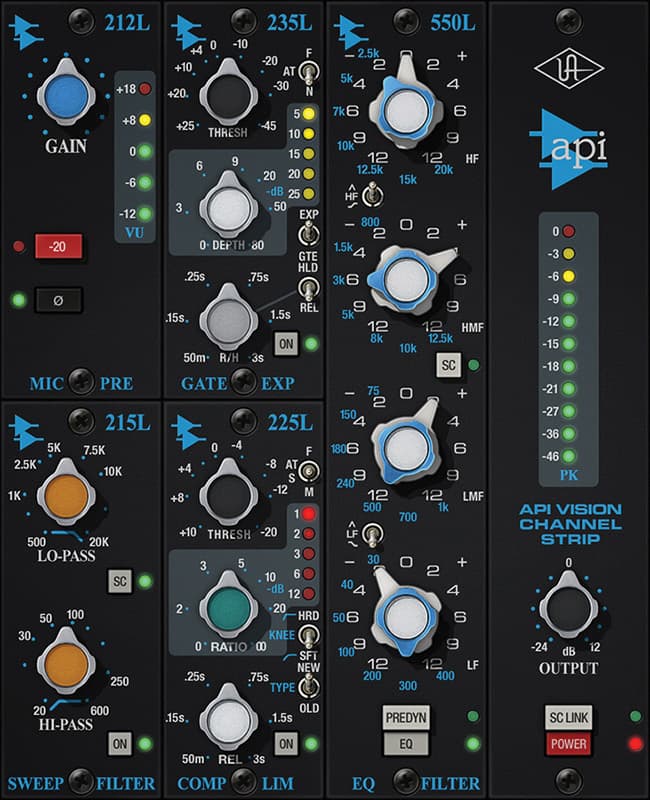
UAD-2 API Vision Channel Strip (US$299) UAD-2
www.uaudio.com/store/channel-strips/api-vision-channel-strip
Punch and character sum up this plug-in. Going well beyond the recently released bundle, the API Vision plug-in is a full channel strip that models their 2520 op-amp, largely responsible for the signature API sound. For those with an analogue console background, this channel strip might be for you. The 550L module offers four bands of EQ while the 215L takes care of low- and high-pass filtering. It also features the fantastic 225L compressor and 235L gate modules.
UAD-2 Pultec Passive EQ Collection (US$299) UAD-2
www.uaudio.com/store/equalizers/pultec-passive-eq-collection
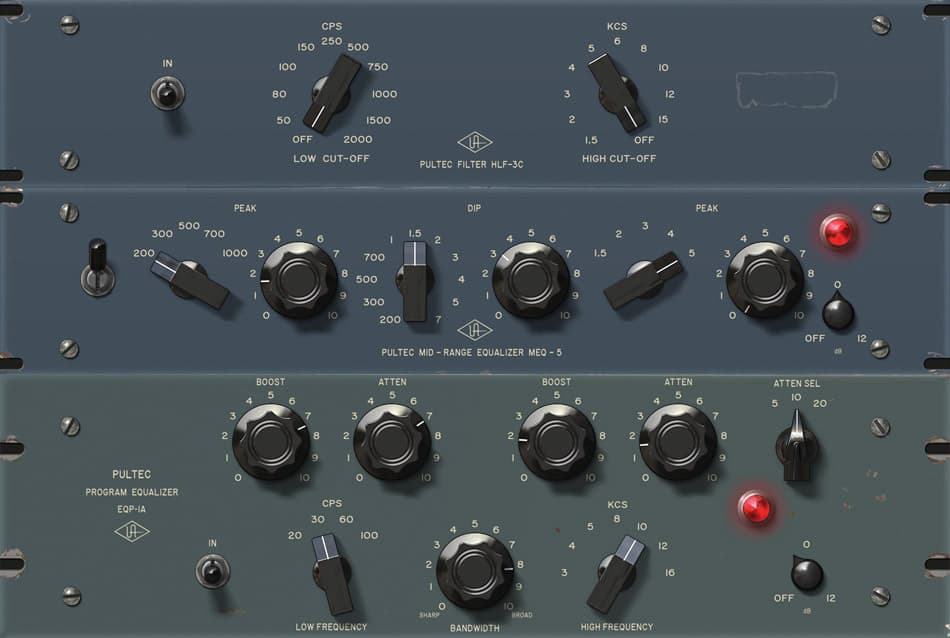
A revamp of the 11-year old Pultec EQP-1A plug-in, the new collection, also containing the MEQ-5 midrange EQ and HLF-3C filter set, is a vast improvement. Inserting this plug-in brings an instant, pleasant change to the sound as harmonic structures from the original tube hardware are emulated. The new EQP-1A has a very ‘tubey’, warm and gluey sound to it, making it perfectly suited to a variety of sources.
PSP NobleQ (US$69) VST/AU/RTAS
www.pspaudioware.com/plugins/equalizers/psp_nobleq
NobleQ from Polish company PSP Audioware is a great Pultec emulation alternative for non-UAD-2 users. PSP doesn’t claim it’s an exact replica, instead they’ve recreated the Pultec’s essence, while adding features not found on the original including inbetween frequency positions, variable tube warmth and 30/40kHz shelf frequencies for adding ‘air’.

FabFilter Pro-Q (€149) VST/AU/RTAS/AAX
www.fabfilter.com/products/pro-q-equalizer-plug-in
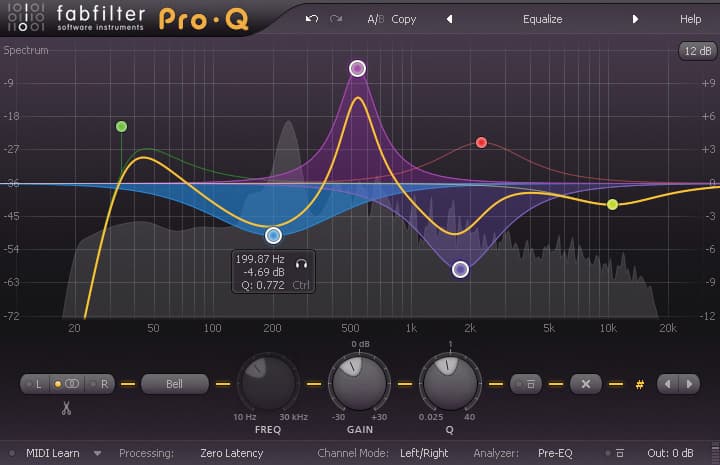
This EQ plug-in is my personal go-to. Pro-Q’s clean and intuitive interface is a perfect reflection of its sound and usability. With 12 filter shapes and up to 24 bands, it covers traditional and linear-phase equalisation in one plug-in, with split-stereo and M/S modes plus a spectrum analyser for hunting down narrow troublesome resonances. If I had to make a record with only one plug-in, it would be Pro-Q.







RESPONSES